Cinnamon rolls - gluten free
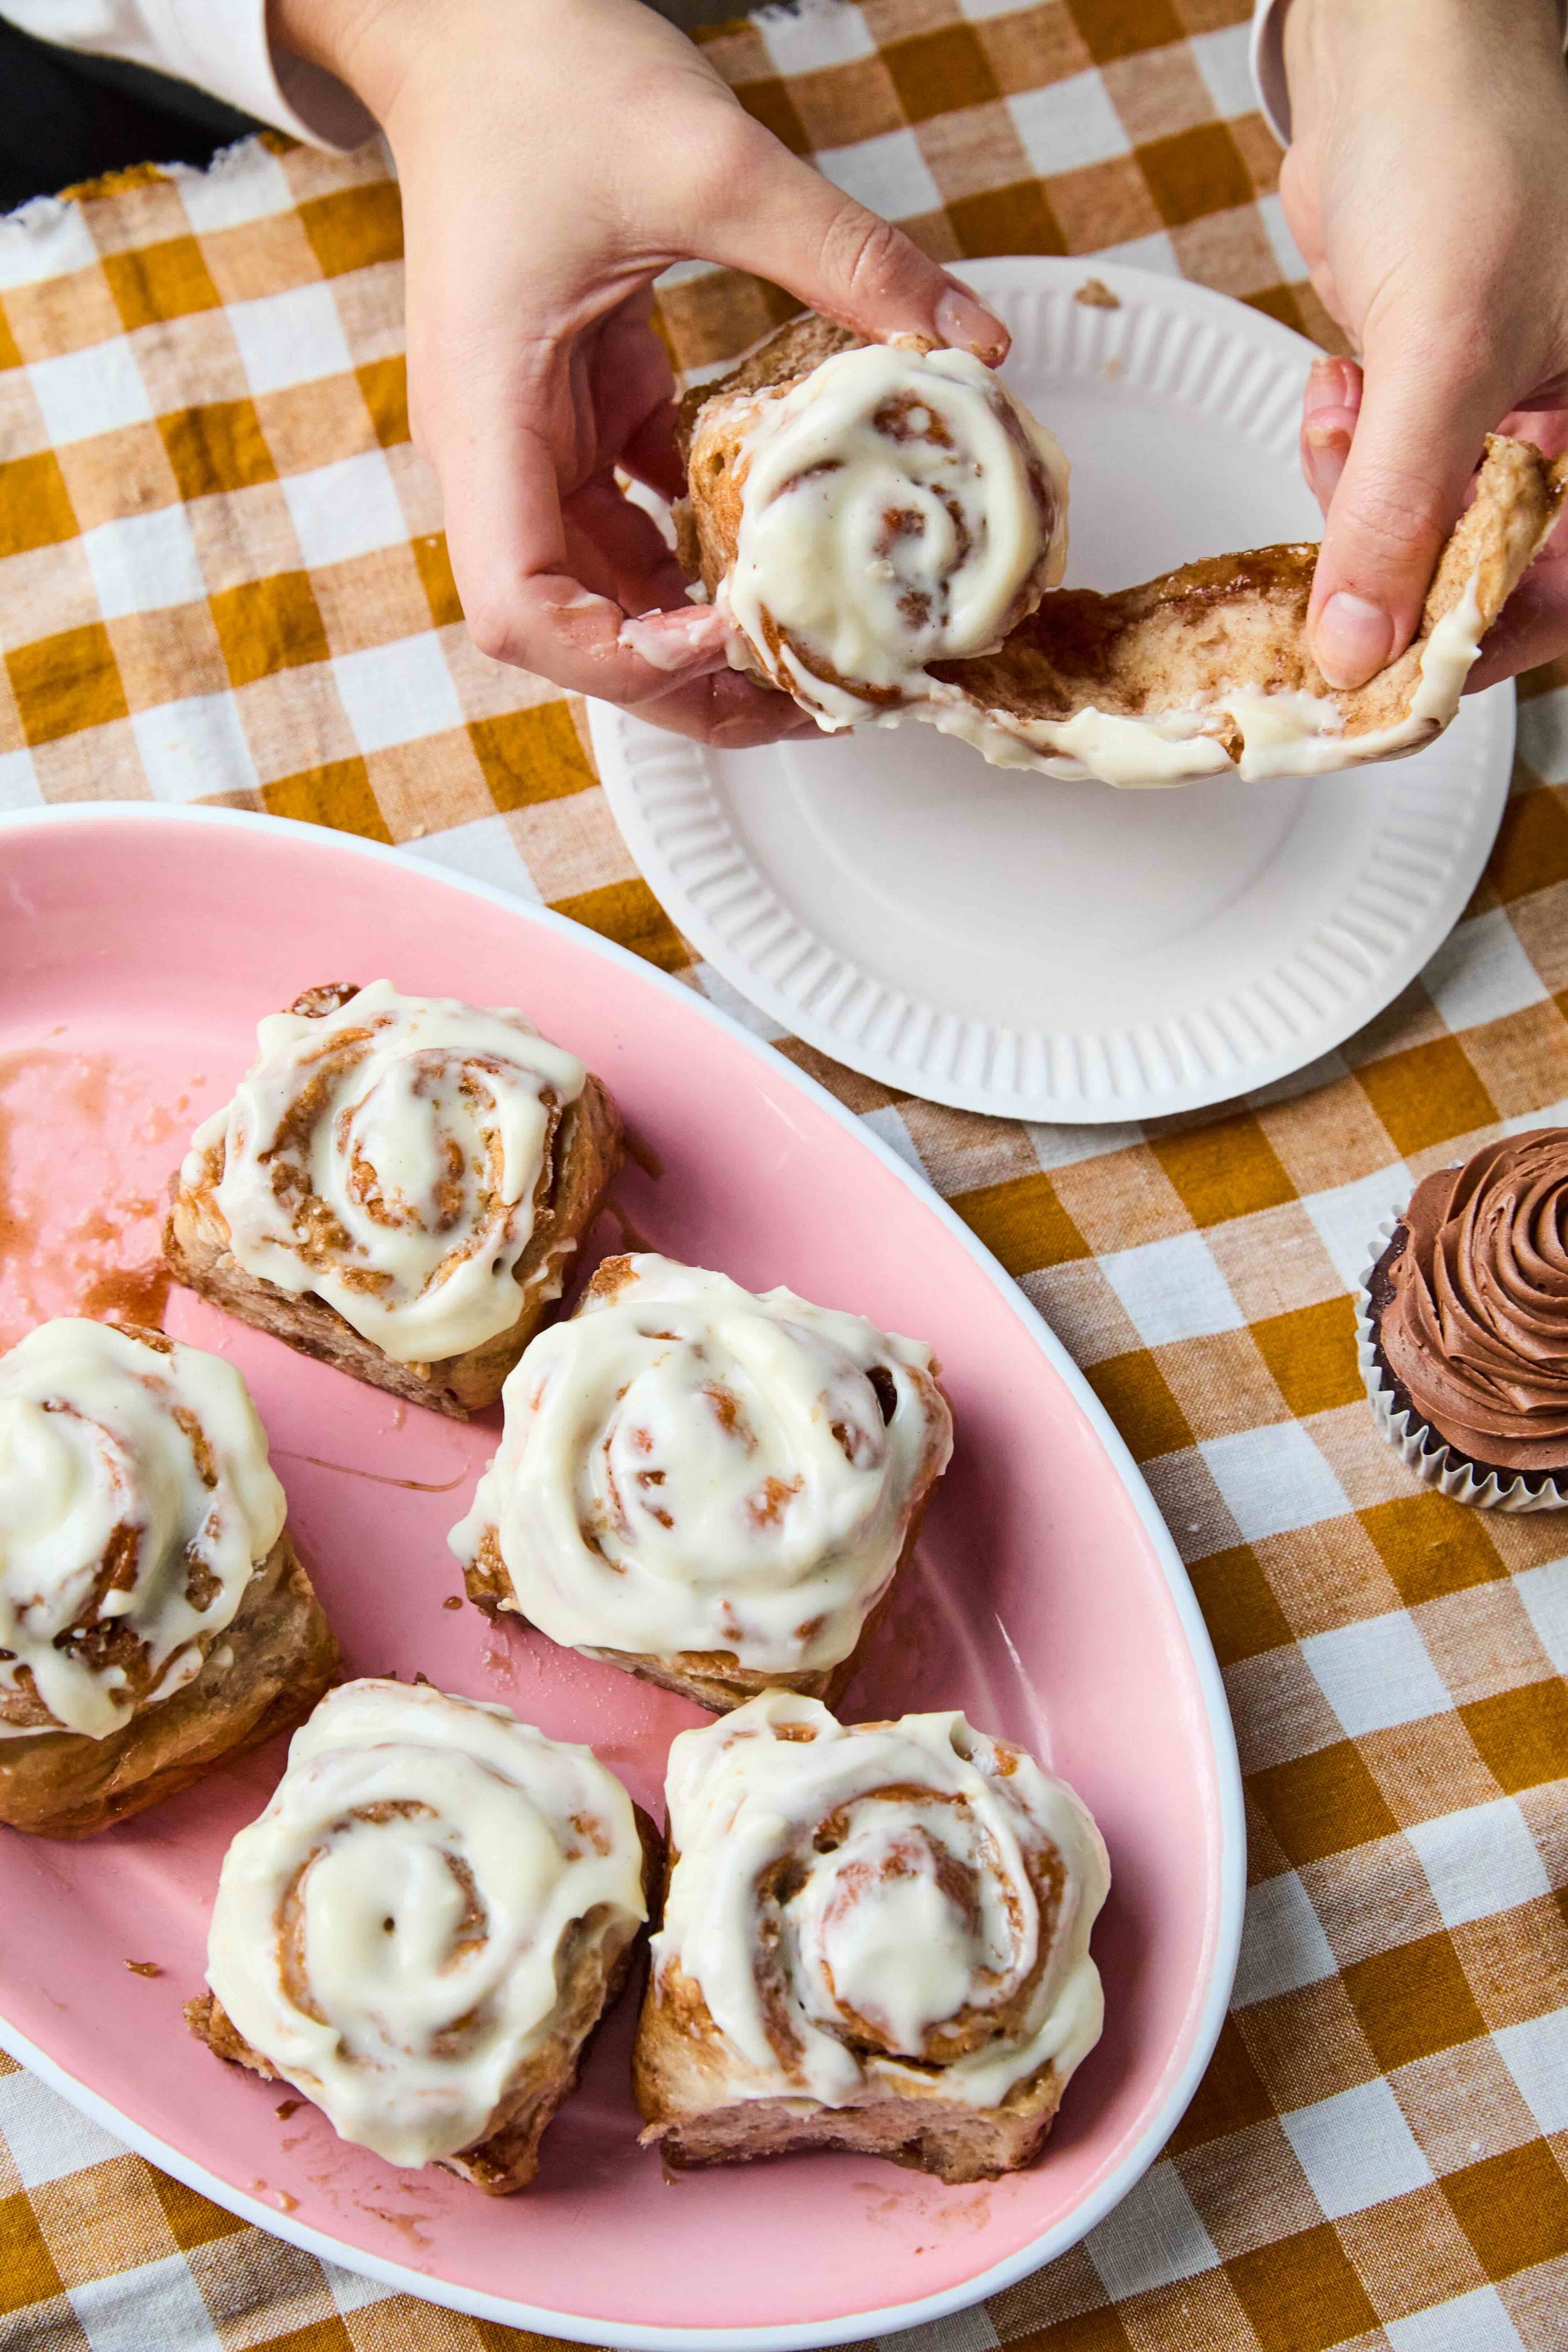
“These are the cinnamon rolls I hunted for desperately in the years after my coeliac diagnosis. Funnily enough, cinnamon rolls weren’t even one of my favourite things when I could eat gluten, but when it was taken off the table, cravings for those soft, sweet rolls really kicked in and I couldn’t find a good substitute anywhere. Until I made these! This dough is versatile and works for lots of different recipes, both sweet and savoury, but these cinnamon rolls should definitely be the first thing you make. They’re perfectly sweet and squishy and will be an excellent addition to your picnic spread.” –Melanie Persson
Makes 9
200g warm water (37–40°C is ideal)
1 tbsp instant dried yeast
60g caster sugar
280g basic flour blend (see below), plus extra for dusting
3½ tsp psyllium husk powder
1 tsp xanthan gum
1 tsp gluten-free baking powder
½ tsp salt
2 eggs
40g butter, chilled and cubed
vegetable oil, for greasing
For the filling
140g soft light brown sugar
1½ tbsp ground cinnamon
¼ tsp salt
85g unsalted butter, softened
For the cream cheese frosting
25g unsalted butter
120g cream cheese
100g icing sugar, sifted
pinch of salt
¼ tsp vanilla bean paste (or extract)
Add the warm water to a medium jug or bowl, then mix in the yeast and 30g of the sugar. Cover and leave in a warm, draft-free place for 10 minutes until the yeast has ‘bloomed’, which means there is a thick layer of foam on the surface. (If a layer of foam has not formed, your yeast may not be active and the rolls will not work properly).
Meanwhile, combine the flour, psyllium husk powder, xanthan gum, baking powder, salt and the remaining 30g sugar in the bowl of a stand mixer.
Whisk the egg into the water-yeast mixture, then pour this into the dry ingredients. Mix slowly (with the paddle attachment) until mostly combined, then mix vigorously (medium speed on a mixer) for 3–4 minutes, scraping down the side of the bowl once or twice to ensure all the ingredients are combining.
Add the cubed butter and continue mixing on medium speed for 5–6 minutes, stopping two or three times to scrape down the side of the bowl. When the dough is ready it will be very sticky but smooth, and you should be able to use a dough scraper or spatula to scrape it into a single ball.
Grease a large bowl with vegetable oil, then transfer and gather the dough into it. Shake and rotate the bowl a little to ensure the dough is a uniform ball, then flip it over. The aim is to have a smooth ball of dough that is greased all over, not to incorporate more fat into the dough, so try to avoid handling it and dimpling the dough with your fingers. Cover the bowl with cling film (plastic wrap) and place it in a warm, draft-free place for 1 hour until doubled in size.
Meanwhile, prepare the filling. In a small bowl, mix the brown sugar, cinnamon and salt in a small bowl and set aside.
Line a 22cm square baking tin with baking paper.
Grease your work surface and hands with a little vegetable oil, then tip out the dough. Knead the dough by hand for 30–40 seconds, removing the air bubbles, until it is a smooth ball of dough.
Dust the work surface and the dough quite generously with flour, then roll it into a 40 × 30 cm rectangle, with a long side facing you.
Spread the softened butter over the dough, doing your best not to pull it too much or rip holes in it (this is not difficult if the butter is softened). Leave a 2–3cm strip unbuttered along the top edge of the dough but spread the butter right to the edges of the other 3 sides. Sprinkle the cinnamon sugar over the butter in an even layer, then pat it gently into the butter.
Starting with the edge closest to you, roll the dough up into a log. Do this as tightly as you can while avoiding stretching the dough (it is more delicate than a gluten-filled dough).
Using a sharp serrated knife, cut the log into 9 equal portions, each about 4-5cm wide (cutting them using floss or twine will create neater rolls, but it is not essential). Arrange them in the prepared baking tin, slightly spaced apart. Cover the dish first with cling film, then with a tea towel (dish towel), and leave to prove in a warm, draft-free place for 15–20 minutes, or until the buns have grown in size by about 75%.
Preheat the oven to 160°C Fan.
Bake the rolls for 35–40 minutes, until they’re golden brown all over.
Meanwhile, make the cream cheese frosting by whisking all the ingredients together in a medium bowl. Refrigerate until ready to use.
Remove the rolls from the oven and allow them to cool in the tin for 25–30 minutes, then take them out of the tray (do this while the rolls are warm as the sugar will harden in the base of the tin as it cools, sticking the rolls in place).
When the rolls have cooled completely, top them with the cream cheese frosting and serve. These will keep in an airtight container in the fridge for 1–2 days or in the freezer (unfrosted) for up to 2 months (simply reheat them in the microwave then frost once cool).
Basic flour blend - Makes 1kg
This is the plain (all-purpose) flour blend I’ve created to be used in most of the recipes in this book. To convert this flour into a self-raising blend, simply add 1 teaspoon of gluten-free baking powder for every 100g of this mix (this is best added as needed on the day of baking). Note that all starches used in this blend should be the super finely ground variety. This recipe was developed in gram measurements, so I advise you to follow that set of measurements for the most accurate results.
315g rice flour
250g tapioca starch
250g gluten-free cornflour (cornstarch)
165g potato starch
2 tbsp + 1 tsp xanthan gum
Sift the ingredients into a large bowl and mix until well combined. Sift and mix again to ensure the starches and xanthan gum have been evenly distributed into a homogenous flour blend. Store in an airtight container until ready to use.

This is an edited extract from Gluten-Free Feasts by Melanie Persson, published by Hardie Grant Books. Photography by Ola O. Smit.